
Most beginner worm bins die within the first six weeks — not because vermicomposting is hard, but because people treat it like regular composting and drown their worms in banana peels. I killed my first batch of red wigglers in about eighteen days doing exactly that: dumped in two weeks of kitchen scraps at once, sealed the lid tight, and came back to a swampy, anaerobic mess that smelled like a gas station bathroom. The fix isn’t complicated once you understand what’s actually happening inside that bin — a living digestive system, not a trash can. This guide covers the worm species that actually work (and the one everyone wrongly buys), exact bin dimensions and stocking density, a month-by-month setup calendar, and realistic yield numbers so you know what “success” actually looks like at week four versus month four.
9 min read
In This Article
- Why Most Beginner Worm Bins Fail (and How This One Won’t)
- Choosing Your Worm Species
- Matching the Bin to Your Zone and Location
- Building the Bin: Bedding and Materials
- Timing It Right: A Seasonal Setup Calendar
- Bin Size, Stocking Density, and What to Feed Them
- Troubleshooting: Pests, Smells, and Common Mistakes
- Harvesting Castings and Yield Expectations
Key Takeaways
- Why Most Beginner Worm Bins Fail (and How This One Won’t)
- Choosing Your Worm Species
- Matching the Bin to Your Zone and Location
- Building the Bin: Bedding and Materials
Why Most Beginner Worm Bins Fail (and How This One Won’t)
The core problem is almost always moisture and feeding rate, not the worms themselves. Eisenia fetida — the species used in 90%+ of home vermicomposting setups, according to the Cornell Waste Management Institute’s composting fact sheets — needs bedding at roughly 70-80% moisture, which feels like a wrung-out sponge, not a wet mop. Beginners either let the bin dry into a dust bowl or, more commonly, overfeed and oversaturate it until oxygen can’t reach the worms and anaerobic bacteria take over, producing that ammonia-and-rot smell.
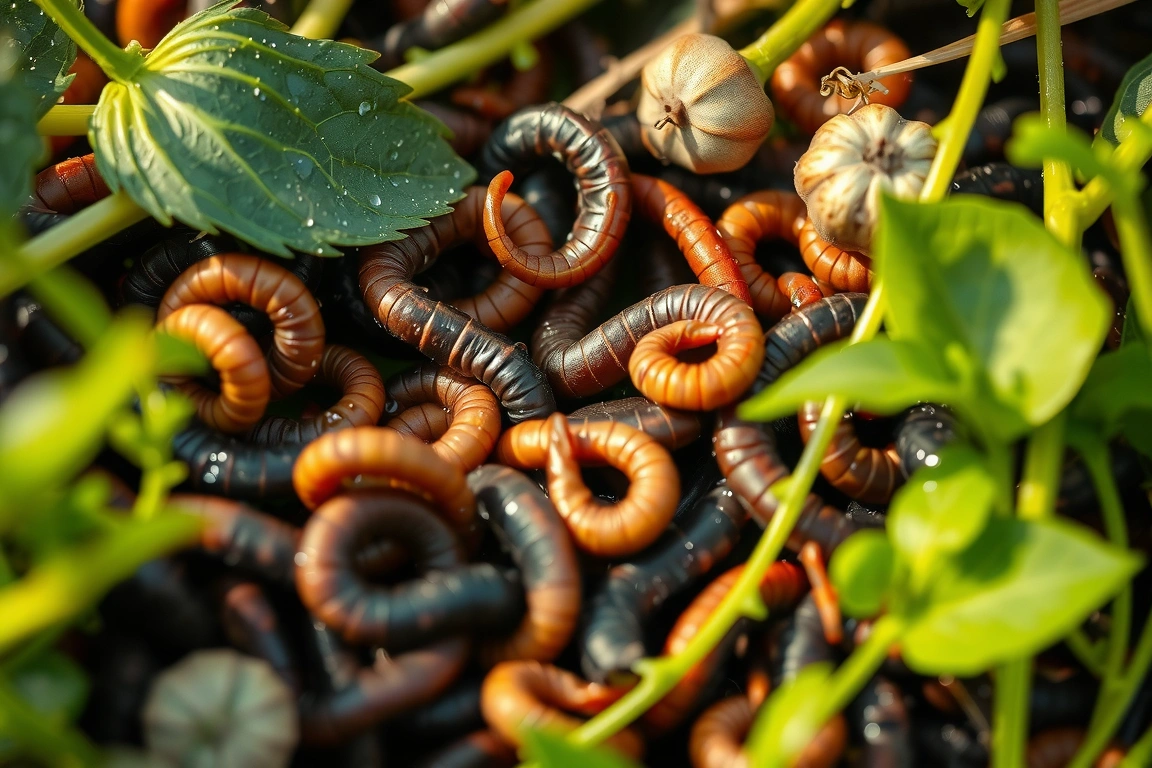
The second failure mode is buying the wrong worm. Bait shops sell Lumbricus terrestris — the big fat nightcrawlers anglers use — and beginners assume any earthworm works in a bin. It doesn’t. L. terrestris is an anecic species that digs deep vertical burrows and needs real soil depth; drop it in an 8-inch tray and it’ll be dead within two to three weeks, no matter how well you feed it. This guide only deals with surface-dwelling composting species, which behave completely differently.
Solve both problems and vermicomposting becomes almost boring in its reliability — I’ve had the same colony running in a Worm Factory 360 for over two years now with maybe twenty minutes of maintenance a week. The rest of this guide walks through exactly how to avoid the mistakes I made the first time.
The rest of this guide walks through exactly how to avoid the mistakes I made the first time.
Choosing Your Worm Species
You have two realistic options for a home bin, and picking correctly matters more than any other decision you’ll make in this process.
Eisenia fetida (Red Wiggler / Tiger Worm)
This is the default choice and the one I’d recommend to any beginner. Red wigglers tolerate a wide temperature range (55-77°F is their comfort zone, though they survive short stretches down to 40°F and up to 84°F), reproduce fast — a healthy colony can double in population roughly every 60-90 days under good conditions — and they’re voracious surface feeders, which is exactly what you want in a shallow bin. Uncle Jim’s Worm Farm and Michigan Bait & Worm both sell them by the pound, typically $28-40/lb, and 1 lb (roughly 800-1,000 worms) is the standard starting quantity for a first bin.
Eisenia hortensis (European Nightcrawler)
Bigger-bodied than red wigglers and slightly slower to reproduce, but they tolerate cooler temperatures better and are prized by some growers because the castings feel slightly coarser and drain better in container gardening mixes. They’re a reasonable second choice if you’re running an unheated garage bin in a zone 5 or 6 winter, but expect to pay a premium — usually $10-15 more per pound than red wigglers.
Skip Lumbricus rubellus too, even though it looks similar to a red wiggler — it’s flagged by the University of Minnesota’s Great Lakes Worm Watch program as one of several earthworm species disrupting native hardwood forest floors when it escapes cultivation. Keep any composting worms contained, and never dump surplus worms or bin castings directly into wild forest soil.
Matching the Bin to Your Zone and Location
Your USDA hardiness zone matters far less for vermicomposting than it does for planting, because most people run these bins indoors or in a garage — but it still determines whether an outdoor, in-ground system is even an option. In zones 7-10, an insulated outdoor bin (something like a buried Rubbermaid Roughneck tote with drainage holes) can run through winter with minimal die-off. In zones 3-6, ground temperatures drop well below the 40°F survival threshold for months at a time, and an outdoor bin will simply freeze solid.

If you’re in a colder zone, the practical fix is location, not species: keep the bin in a basement, garage, or under-sink cabinet where temperatures stay between 55-77°F year-round. I run mine in an unheated Minnesota (zone 4) garage from May through September and move it into the basement from October to April — the temperature swing in the garage during a zone 4 winter would kill the whole colony in about a week.
Above 84-90°F is actually more dangerous than cold, and it’s the mistake warm-climate gardeners make more often. Worms are ectothermic and have no way to cool themselves; a bin left in direct sun on a zone 9 or 10 patio in July can hit a lethal internal temperature within hours. Shade, insulation, or an indoor spot solves this in every zone — there’s no version of vermicomposting that requires outdoor exposure.
Building the Bin: Bedding and Materials
Bedding does two jobs: it holds moisture and gives worms somewhere to hide when they’re not actively feeding. Shredded cardboard (skip the glossy printed boxes — the inks and coatings can carry residues you don’t want in your food-growing castings) and shredded newspaper (black-and-white pages only) make up the bulk of most beginner bins. A coco coir brick, like the Coco Bliss 10-oz brick (roughly $7-9), expands to about 2 gallons of moisture-holding bedding when soaked and is my preferred base layer because it holds moisture more evenly than newspaper alone.
Mix in a handful of aged leaf litter or a few tablespoons of garden soil (not potting mix, which is often sterilized) to introduce beneficial microbes and a little grit — worms have no teeth and rely on grit in their gizzard to grind food, similar to how a bird’s crop works. Fill the bin roughly one-third to one-half full of loosely packed, dampened bedding before adding a single worm; a bin that’s too densely packed limits oxygen flow and is a common cause of that swampy smell beginners run into.
Test moisture with the classic squeeze test: grab a handful of bedding and squeeze — you want one or two drops of water to come out, not a stream, and not nothing. If it’s bone dry, mist with a spray bottle; if it’s soggy, add dry shredded cardboard until it balances out. Get this step right and most of the “beginner problems” you’d otherwise run into simply don’t happen.
Get this step right and most of the “beginner problems” you’d otherwise run into simply don’t happen.
Timing It Right: A Seasonal Setup Calendar
Unlike outdoor planting, vermicomposting doesn’t depend on frost dates — but seasonal timing still affects success rates, mostly because of ambient temperature swings during shipping and acclimation.

- Early Spring (March-April): Best window for most zones. Order worms once daytime temps consistently sit above 50°F so shipped worms aren’t stressed by cold transit; set up the bin indoors and let bedding sit 24-48 hours before adding worms so chlorine and ammonia off-gas.
- Late Spring to Early Summer (May-June): Good secondary window, especially in zones 3-5 where March/April ground and garage temps are still unreliable. Avoid shipping worms during a heat wave — overnight shipping through a 95°F+ regional hub can kill a batch before it arrives.
- Summer (July-August): Fine for setup as long as the bin lives somewhere climate-controlled; skip outdoor bins entirely in zones 7-10 during peak heat.
- Fall (September-October): A reasonable time to start an indoor bin, since you’ll get a full 60-90 days of population growth before the coldest part of winter, when feeding activity naturally slows.
- Winter (November-February): Doable indoors, but expect slower feeding and reproduction — worm metabolism drops noticeably below 60°F, so don’t panic if the bin looks “stalled” for a few weeks.
Once the colony is established, ongoing maintenance isn’t seasonal at all — it’s the same 10-minute weekly check regardless of month. The calendar above only matters for that first setup and acclimation period.
Bin Size, Stocking Density, and What to Feed Them
Depth matters more than most beginners expect. Composting worms are surface feeders, so anything deeper than 12 inches is wasted space — an 8-10 inch bin depth is the sweet spot, which is why stacking systems like the Worm Factory 360 (about $129, 16″x16″ footprint) and the VermiHut Plus 5-Tray (roughly $99) use shallow trays instead of one deep bin.
Stocking density follows a simple rule of thumb from most vermicomposting extension guides: 1 lb of worms per square foot of surface area, and roughly 1 lb of worms per person in the household if you’re feeding it your actual kitchen scraps. A standard 18-gallon Rubbermaid tote gives you about 2 sq ft of surface, so 1-2 lbs of starter worms is right for that size — go heavier than that early on and you risk running out of food faster than the colony can process it, which triggers the same overcrowding stress that leads to escape attempts.
For feeding, this is your companion matrix — what pairs well and what to avoid:
| Feed Generously | Feed Sparingly | Avoid |
|---|---|---|
| Coffee grounds + filters | Citrus peels (small amounts, mixed in) | Meat, fish, dairy |
| Banana peels, melon rinds | Onion/garlic scraps | Oily or fried foods |
| Crushed eggshells (grit + calcium) | Bread, grains | Salted or spiced foods |
| Shredded cardboard/newspaper | Tomato scraps (acidic in bulk) | Glossy or coated paper |
Feed about half a pound of scraps per pound of worms every 2-3 days rather than dumping a week’s worth at once, and always bury food under an inch of bedding — this single habit prevents most fruit fly problems before they start.
Troubleshooting: Pests, Smells, and Common Mistakes
Fruit flies are the most common complaint, and they’re almost always caused by exposed food scraps rather than the worms themselves. The fix is simple: bury every addition under bedding, and if you already have an infestation, stop feeding for a week and cover the surface with a damp layer of shredded newspaper.
Pot worms (Enchytraeidae) — small, white, thread-like creatures that show up in large numbers — usually signal the bin has drifted too acidic, often from too much citrus or tomato waste. A tablespoon of crushed eggshell or a light dusting of garden lime worked into the top few inches usually rebalances pH within a week or two; they’re harmless to worms but a large population is a warning sign worth acting on.
Worms climbing the walls or clustering at the lid, sometimes called a “mass exodus,” typically means one of three things: the bin is too wet, too acidic, or exposed to light they’re trying to escape. Check moisture first with the squeeze test, then check for over-acidity, and keep the bin in a dim spot — worms are photophobic and will actively avoid light, which is actually the trick used in harvesting (more on that below).
Harvesting Castings and Yield Expectations
Your first harvest is realistically 3-4 months out from setup, once the original bedding has visibly transformed into a dark, crumbly, soil-like material with almost no recognizable food scraps left. The two most common harvest methods are the light migration method — dump the bin’s contents onto a tarp under a bright light, let worms burrow down away from the light, then scrape off the top inch of finished castings every 10-15 minutes — and the side-to-side method used in tray systems like the Worm Factory 360, where you simply stop feeding one tray and start a fresh one, letting worms migrate up through the mesh on their own over 2-3 weeks.
Realistic yield numbers, based on typical home-scale results reported by extension programs and my own tracking across three bins over two years:
| Starting Colony | Timeframe | Expected Castings |
|---|