
Disclosure: This post contains affiliate links. If you click through and make a purchase, we may earn a small commission at no extra cost to you. Thank you for supporting this site!
Most homeowners think a driveway is just a place to park the car, but I learned the hard way that a traditional concrete slab is a giant rain magnet that floods your foundation and washes topsoil into the street. After watching a heavy summer downpour send a river of water from my old driveway straight into my basement, I decided to rebuild it using permeable pavers. This wasn’t just about parking; it was a critical water management project for my entire property. A properly installed permeable paver driveway acts like a giant sponge, allowing thousands of gallons of stormwater to seep slowly back into the aquifer instead of becoming destructive runoff. In this guide, I’ll walk you through the five non-negotiable steps to get it right, from calculating the exact depth of gravel base you need to choosing paver patterns that lock together for heavy truck traffic. The goal isn’t just a beautiful driveway, but a functional part of your property’s ecosystem that reduces flooding, recharges groundwater, and keeps your foundation dry.
7 min read
In This Article
- Step 1: Assess Your Soil and Calculate Your Water Needs
- Step 2: Excavate and Grade for a 1-2% Slope Away from Structures
- Step 3: Build a Multi-Layer Base with Crushed Aggregate
- Step 4: Lay Permeable Pavers with Precise Spacing
- Step 5: Establish Proper Edging and Plan for Long-Term Maintenance
- Frequently Asked Questions
Key Takeaways
- Step 1: Assess Your Soil and Calculate Your Water Needs
- Step 2: Excavate and Grade for a 1-2% Slope Away from Structures
- Step 3: Build a Multi-Layer Base with Crushed Aggregate
- Step 4: Lay Permeable Pavers with Precise Spacing
Step 1: Assess Your Soil and Calculate Your Water Needs
Before you even look at paver samples, you have to understand what’s under your feet. The single biggest mistake is assuming your soil will drain well. In my first attempt on a different part of my property, I skipped a percolation test on what I thought was sandy soil, only to find a compacted clay layer just 6 inches down that created a bathtub effect. A proper perc test is simple: dig a hole about 12 inches deep and 12 inches wide, fill it with water, let it drain completely, then refill it and time how long it takes for the water level to drop one inch. If it takes longer than 60 minutes, you have slow-draining soil and will need a deeper aggregate base—a critical detail that changes your material costs and excavation depth.
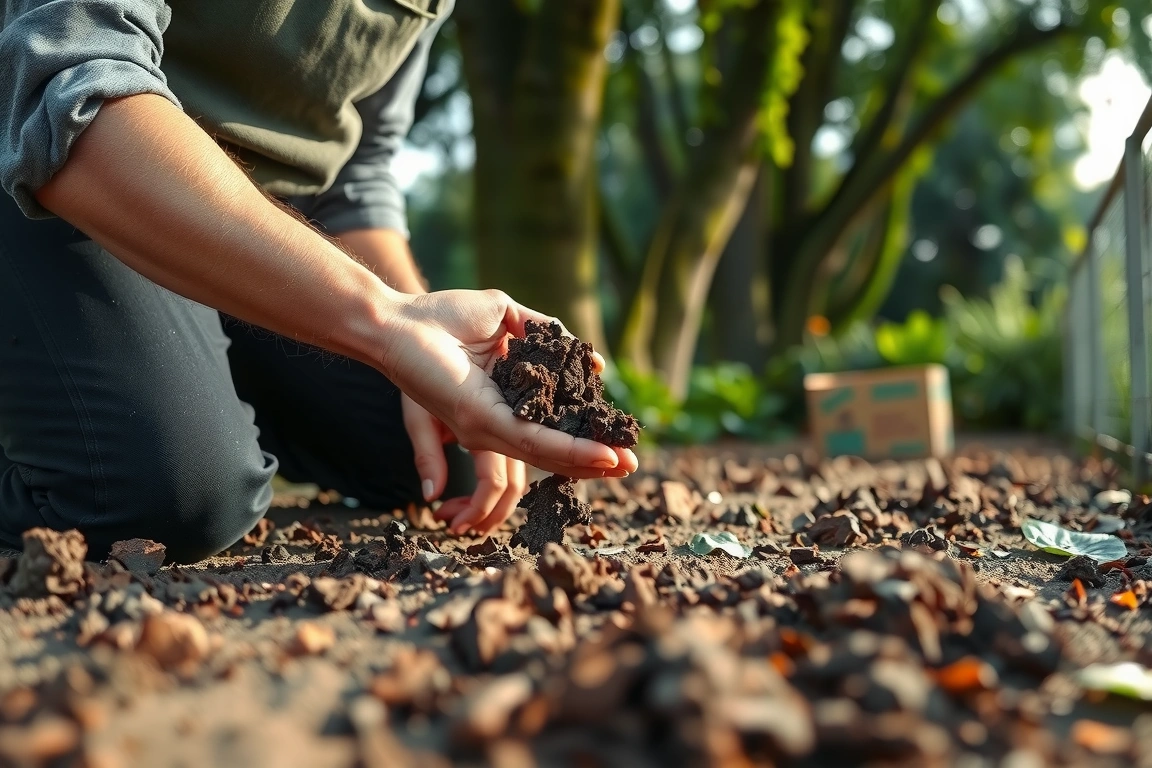
Next, calculate your drainage area. Measure the entire surface area of your planned driveway in square feet. Then, use the soil type to determine your base depth. For sandy soils with a perc rate under 30 minutes, a 6- to 8-inch base of crushed angular gravel (like ASTM No. 2 stone) is sufficient. For loamy soils (30-60 minute perc rate), plan for a 10- to 12-inch base. If you have heavy clay (over 60 minutes), you’re looking at a minimum 14-inch base, and in severe cases, you might need to incorporate a perforated underdrain pipe. For a typical two-car driveway (about 600 square feet), a clay soil site will require about 8.5 cubic yards of base rock—enough to fill a standard dump truck. This initial assessment prevents catastrophic failure years later.
This initial assessment prevents catastrophic failure years later.
Step 2: Excavate and Grade for a 1-2% Slope Away from Structures
Excavation is where the real work begins, and precision here separates a professional job from a DIY disaster. You’re not just digging a flat hole; you’re creating a bowl-shaped basin with a gentle slope. The goal is to direct surface water toward the center of the driveway and then down its length, away from your house foundation and into a safe dispersal area like a lawn or rain garden. The standard slope is a 1% to 2% grade, which translates to a 1 to 2-inch drop for every 10 feet of run. I use a simple laser level and grade stakes every 10 feet to map this out perfectly. For a 40-foot-long driveway, that means the end will be 4 to 8 inches lower than the end near the house.
Dig to the depth required by your soil assessment, plus the thickness of your pavers (usually 3.25 inches) and the sand setting bed (1 inch). For a clay soil site needing a 14-inch base, you’d excavate to a total depth of about 18.25 inches. This is a massive amount of soil to remove—for that 600 sq. ft. driveway, you’re digging up over 30 cubic yards of dirt. Renting a small excavator for a day (around $350-$500) is almost always worth it over using a shovel. The critical check: after excavation, lay a long, straight 2×4 across the graded subbase with a level on top. The bubble should be just off-center, confirming your slope. Any flat or reverse-graded spots will create puddles on top of your pavers, defeating the entire purpose.
Step 3: Build a Multi-Layer Base with Crushed Aggregate
The base is the engine of your permeable driveway. It’s not one layer of gravel; it’s a carefully engineered system. I use a three-layer approach that has never failed me. The bottom layer, making up about 60% of the total depth, is your main reservoir. This must be crushed, angular rock—like ASTM No. 2 stone (1.5 to 2.5-inch diameter)—because the jagged edges lock together under compaction, creating stable voids for water storage. Rounded pea gravel is useless here; it shifts and settles. Spread this layer in 2- to 3-inch lifts, compacting each one thoroughly with a plate compactor (you can rent one for about $75/day). Proper compaction is loud, dusty, and essential.
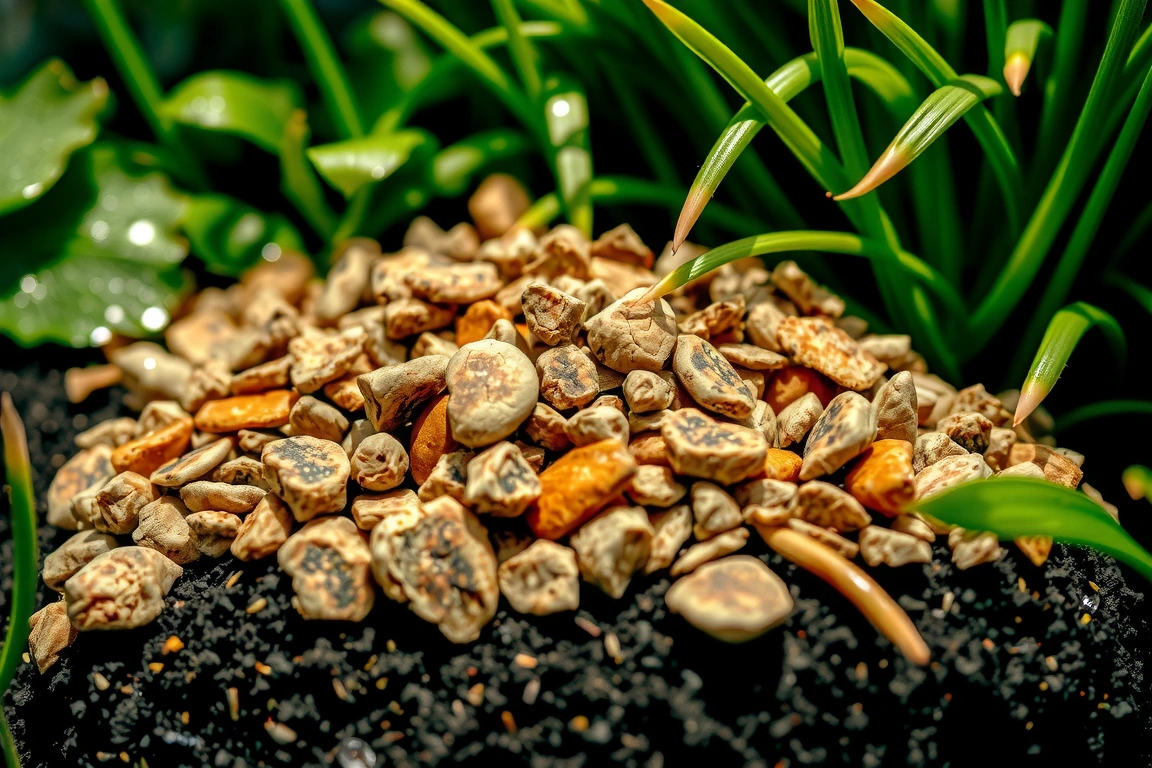
The next layer is a 2- to 3-inch thick choke layer of smaller, crushed aggregate, like ASTM No. 57 stone (0.75-inch diameter). This filters finer particles and creates a stable transition to the top layer. Finally, a 1-inch thick setting bed of coarse, washed concrete sand (ASTM C33) provides a level surface for the pavers. Do not use fine mason’s sand, as it can clog the system. After laying each layer, screed it perfectly level while maintaining your overall slope. A common mistake is skimping on compaction to save time. I run the plate compactor over each layer at least three times in crossing directions. A poorly compacted base will settle over time, creating dips and puddles that hold water on the surface.
A poorly compacted base will settle over time, creating dips and puddles that hold water on the surface.
Step 4: Lay Permeable Pavers with Precise Spacing
Now for the satisfying part: laying the pavers. Not all pavers are created equal for permeability. You need units specifically designed with wider gaps. I’ve had the best results with Unilock’s Eco-Optiloc or Techo-Bloc’s Blu 60S. These pavers have built-in spacer bars that create consistent 3/16-inch to 1/4-inch gaps between them. Start laying from a fixed edge, like a sidewalk or form board, and work your way out. Stretch a string line to keep your rows straight. Use a rubber mallet to tap each paver firmly into the sand bed, ensuring they are level with their neighbors. The key is to maintain those consistent joints—they are the primary entry points for water.
The pattern matters for structural integrity. A 90-degree herringbone pattern is the strongest for vehicle traffic, as it locks the pavers together and prevents shifting. For a more decorative look, a running bond is acceptable but not quite as stable. As you work, you’ll inevitably need to cut pavers to fit at the edges. A rented concrete saw with a diamond blade (about $120/day) makes quick, clean cuts. After all the pavers are laid, spread a fine, angular chip aggregate (like 1/8-inch granite chips) over the entire surface and sweep it into the joints until they are completely filled. This aggregate locks the pavers in place and acts as a filter, preventing sand and silt from washing down and clogging the base. Avoid using polymeric sand, as it hardens and seals the joints, destroying permeability.
Step 5: Establish Proper Edging and Plan for Long-Term Maintenance
A permeable paver system is only as strong as its edges. Without a rigid restraint, the entire assembly can spread and unravel under the lateral force of car tires. I use heavy-duty plastic or composite paver restraints, staked into the ground with 10-inch galvanized steel spikes every 12 inches. Concrete curbing is another excellent, though more expensive, option. The restraint must be installed flush with the top of the pavers to be effective. This is a step many DIYers overlook, leading to a ragged, failing edge within a year.
Maintenance is straightforward but non-negotiable. Every six months, and especially after fall leaf drop, sweep the surface clean. Leaves and organic debris are the number one cause of clogs. Once a year, I use a garden hose without a nozzle to lightly spray the surface, washing fine silt out of the joints. If you notice water pooling, it’s a sign the joints are clogged. In that case, a power washer with a wide, low-pressure fan tip can be used carefully to vacuum the old aggregate out of the joints, let the area dry, and then refill with new chip aggregate. A well-maintained permeable driveway should function perfectly for 20-25 years without needing the base to be replaced. The upfront work pays off in a system that manages water beautifully for decades.
Small changes, real momentum
Get practical guides and templates you’ll actually use — a few thoughtful emails a month.
Frequently Asked Questions
Can I convert my existing solid driveway to permeable pavers?
Yes, but it’s a major demolition project. You must completely remove the old asphalt or concrete slab and excavate the compacted subsoil beneath it. The existing base is almost always too compacted to allow drainage. In most cases, you’ll need to excavate to a depth of at least 18 inches below the final paver height to install the new aggregate base. For a 20×20 foot area, this means removing and disposing of over 20 tons of material. It’s often more cost-effective for large driveways to build a new permeable section alongside the old one for parking, rather than a full replacement.
Will permeable pavers work in cold climates with freezing winters?
They work exceptionally well, often better than solid surfaces. Because water drains through the pavers instead of sitting on top, there’s far less water to freeze and cause surface ice. You’ll still get some icing in very wet, cold conditions, but it’s typically thin and spotty compared to the solid sheets of ice on asphalt. You should avoid using rock salt for de-icing, as the chloride can degrade the paver joints and contaminate groundwater. Use a traction agent like sand or a chloride-free ice melt product labeled safe for permeable surfaces.
How much more expensive is a permeable paver driveway compared to asphalt?
A professionally installed permeable paver driveway typically costs between $15 and $30 per square foot, while a new asphalt driveway averages $7 to $13 per square foot. For a 600-square-foot driveway, that’s a difference of roughly $4,800 to $10,200. However, this doesn’t account for the potential savings on municipal stormwater fees (some cities offer credits) or the avoided cost of fixing drainage or foundation issues caused by impervious surfaces. The longevity is also greater; asphalt lasts 15-20 years with resealing, while pavers can last 25+ years with minimal maintenance.
🌱 Editor’s Pick
Editor’s Pick: A detailed landscaping guidebook for planning a permeable paver driveway.
Grow Something Good
Seasonal how-tos and sustainable gardening you can actually use.