
Let’s be honest: a concrete slab patio might be low-maintenance, but it’s a dead zone for your soil. It sheds rainwater straight into the storm drain, bakes your plant roots, and turns your yard into a heat island. A permeable patio—one that lets water soak through—solves all that. And when you build it with Perme Easy (the grid system that locks down gravel without concrete), you get a surface that handles heavy rain, suppresses weeds, and actually feeds your garden beds.
9 min read
I’ve built three of these in my own yard over the past five years: one for a seating area, one as a path through the food forest, and one as a base for a greenhouse. The Perme Easy system—specifically the Perme Easy Pave 2-inch grid—costs about $0.80 per square foot (a 12×12 patio runs roughly $115 for the grids alone), and you can install it in a weekend without renting a compactor. Here’s exactly how to do it, zone by zone, with the cultivars and measurements that actually work.
In This Article
Key Takeaways
- Why Perme Easy Beats Concrete (and Even Gravel)
- Step 1: Site Selection and Zone Prep
- Step 2: Excavate and Level the Base
- Step 3: Install the Perme Easy Grids
Why Perme Easy Beats Concrete (and Even Gravel)
Standard gravel patios have a nasty habit: they migrate. Walk on them enough, and the stones spread into your lawn, your garden beds, and your neighbor’s driveway. Perme Easy grids lock each piece of gravel in place with a honeycomb structure that flexes underfoot but doesn’t shift. The grids are made from 100% recycled HDPE plastic, UV-stabilized for 20+ years of direct sun, and they handle foot traffic, wheelbarrows, and even the occasional lawn tractor without cracking.
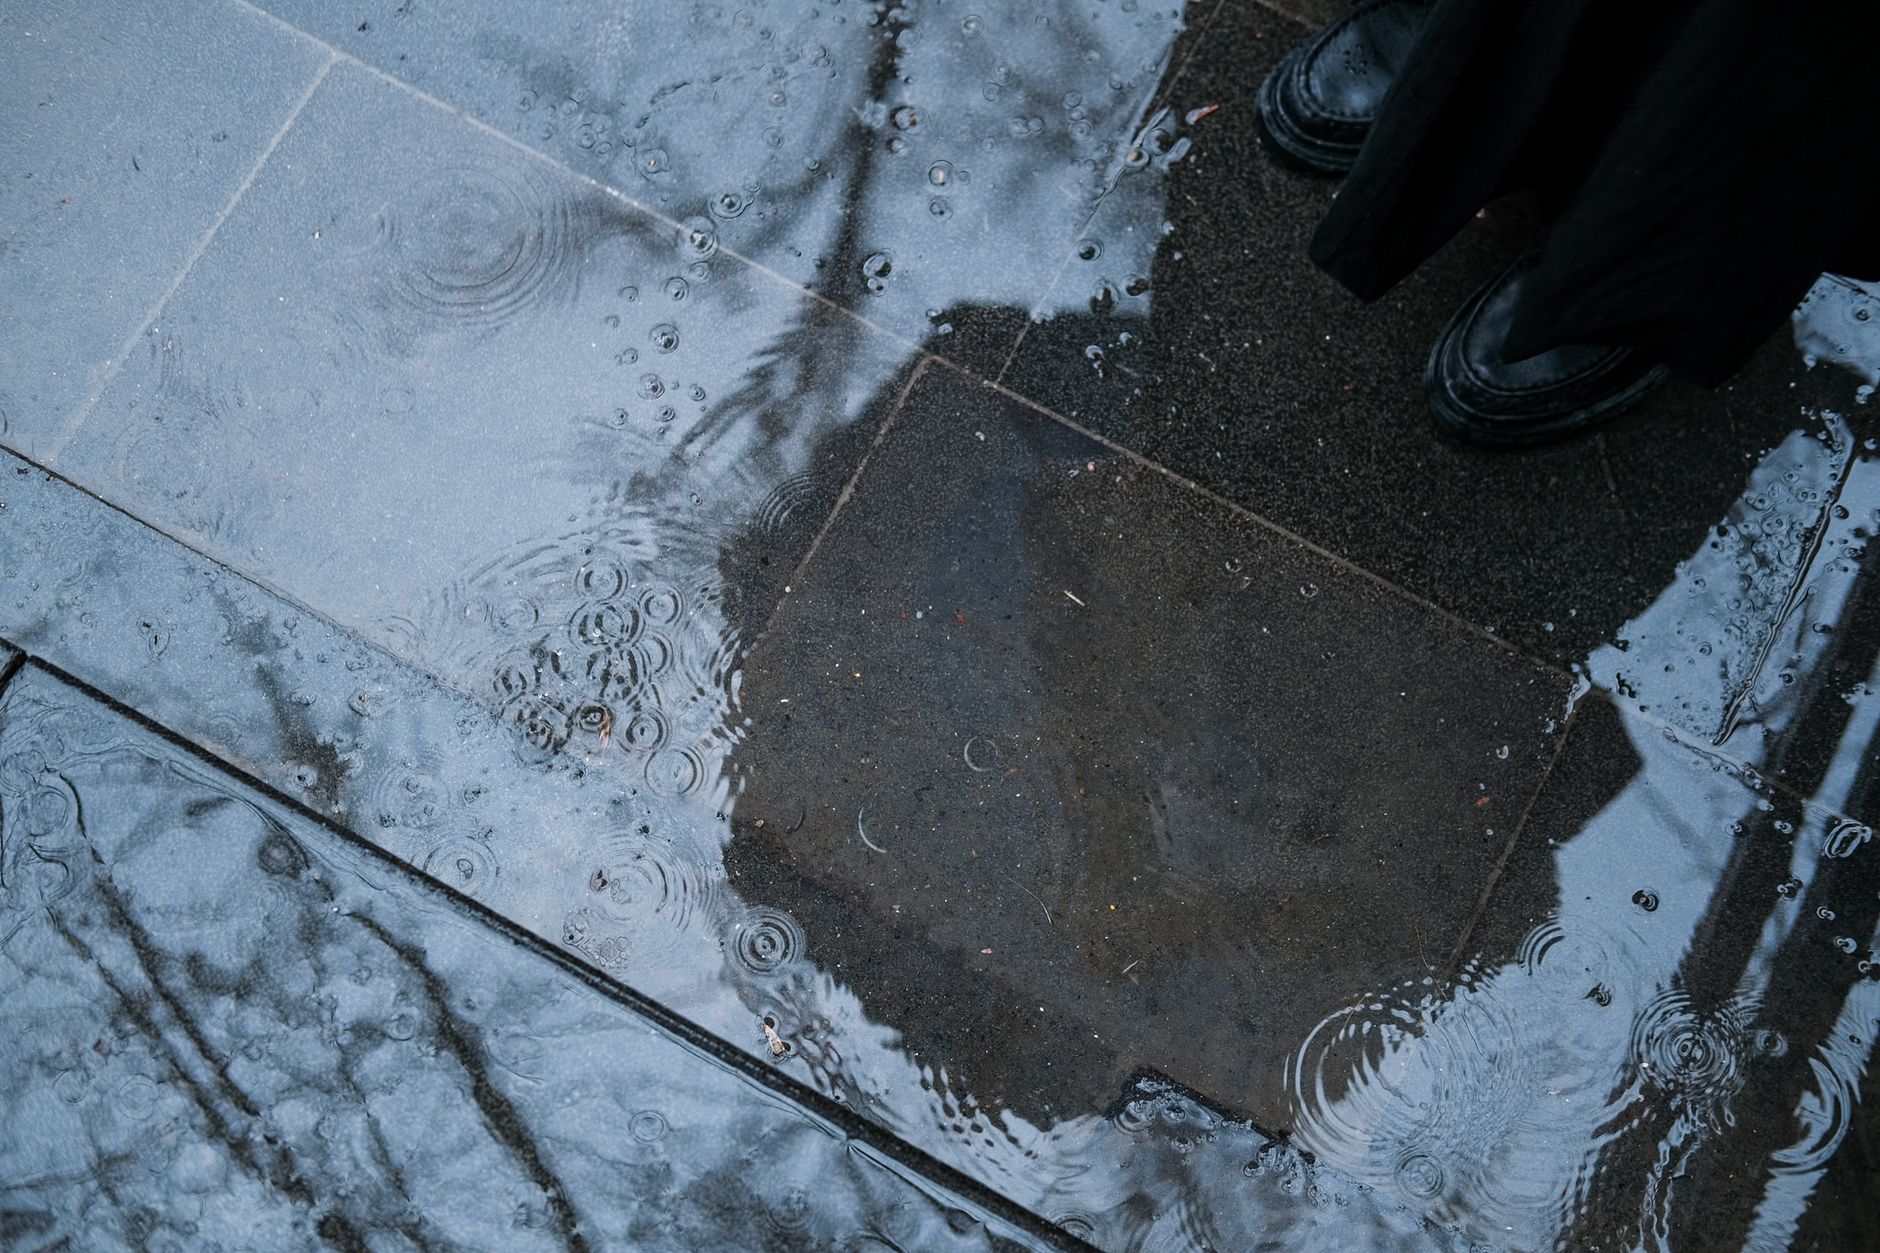
Compare that to poured concrete: a standard 4-inch slab for a 12×12 patio runs $6–$10 per square foot installed, adds zero drainage, and cracks within five years if your soil freezes and thaws. Perme Easy, with gravel, costs $2.50–$4 per square foot total, and the water infiltration rate is 1,200 inches per hour—meaning even a 5-inch downpour (rare in most zones) drains through in under a minute. Your soil stays aerated, your tree roots get oxygen, and you’re not building a runoff problem for the creek down the street.
Your soil stays aerated, your tree roots get oxygen, and you’re not building a runoff problem for the creek down the street.
Step 1: Site Selection and Zone Prep
Before you order a single grid, walk your yard after a heavy rain. Where does water pool? Where does it flow? A permeable patio works best on ground that’s already draining reasonably well—a site that stays soggy for three days after rain needs a French drain first, not a patio. For most of us in USDA zones 5–8 (where freezing and thawing is the real enemy), you need a base that can handle frost heave.
I made this mistake on my first patio: I placed it in a low spot where water naturally collected. Every spring, the grids heaved up like a bad science experiment. The fix is simple: choose a spot with at least 2% slope away from your house (that’s 2 inches of drop per 10 feet). If you’re building next to a foundation, the slope should go away from the wall, not toward it. For a 12×12 patio, that means the far edge is about 2.5 inches lower than the edge next to the house.
Mark your area with spray paint and string lines. Account for an extra 6 inches on all sides for the gravel base that extends beyond the grids—this prevents edge erosion and gives you room to work. If you’re in zone 6 or colder, plan for a 6-inch gravel base (not the standard 4 inches) to handle frost heave. Trust me, I’ve seen 4-inch bases fail in zone 5 after a freeze-thaw cycle in March.
Step 2: Excavate and Level the Base
You’re going to dig. Not deep, but precisely. Remove the topsoil to a depth of 7 inches for a standard patio (6 inches of base gravel plus 1 inch for the grid and gravel surface). If you’re in a cold zone, go to 9 inches (8 inches of base, 1 inch surface). That’s roughly 3.5 cubic yards of soil to haul for a 12×12 patio—rent a wheelbarrow and have a plan for where that dirt goes. I used mine to build a raised bed for ‘Cherokee Purple’ tomatoes and ‘Diva’ cucumbers; the extra organic matter in that topsoil made for a fantastic bed.
Once the hole is dug, lay down landscape fabric. I use Dewitt 3-ounce woven polypropylene—it’s $0.15 per square foot at Home Depot and blocks weeds without trapping water. Overlap seams by 6 inches and staple them with 6-inch galvanized stakes. This step is non-negotiable: without fabric, your gravel base will sink into the soil over time, and weeds will find the cracks.
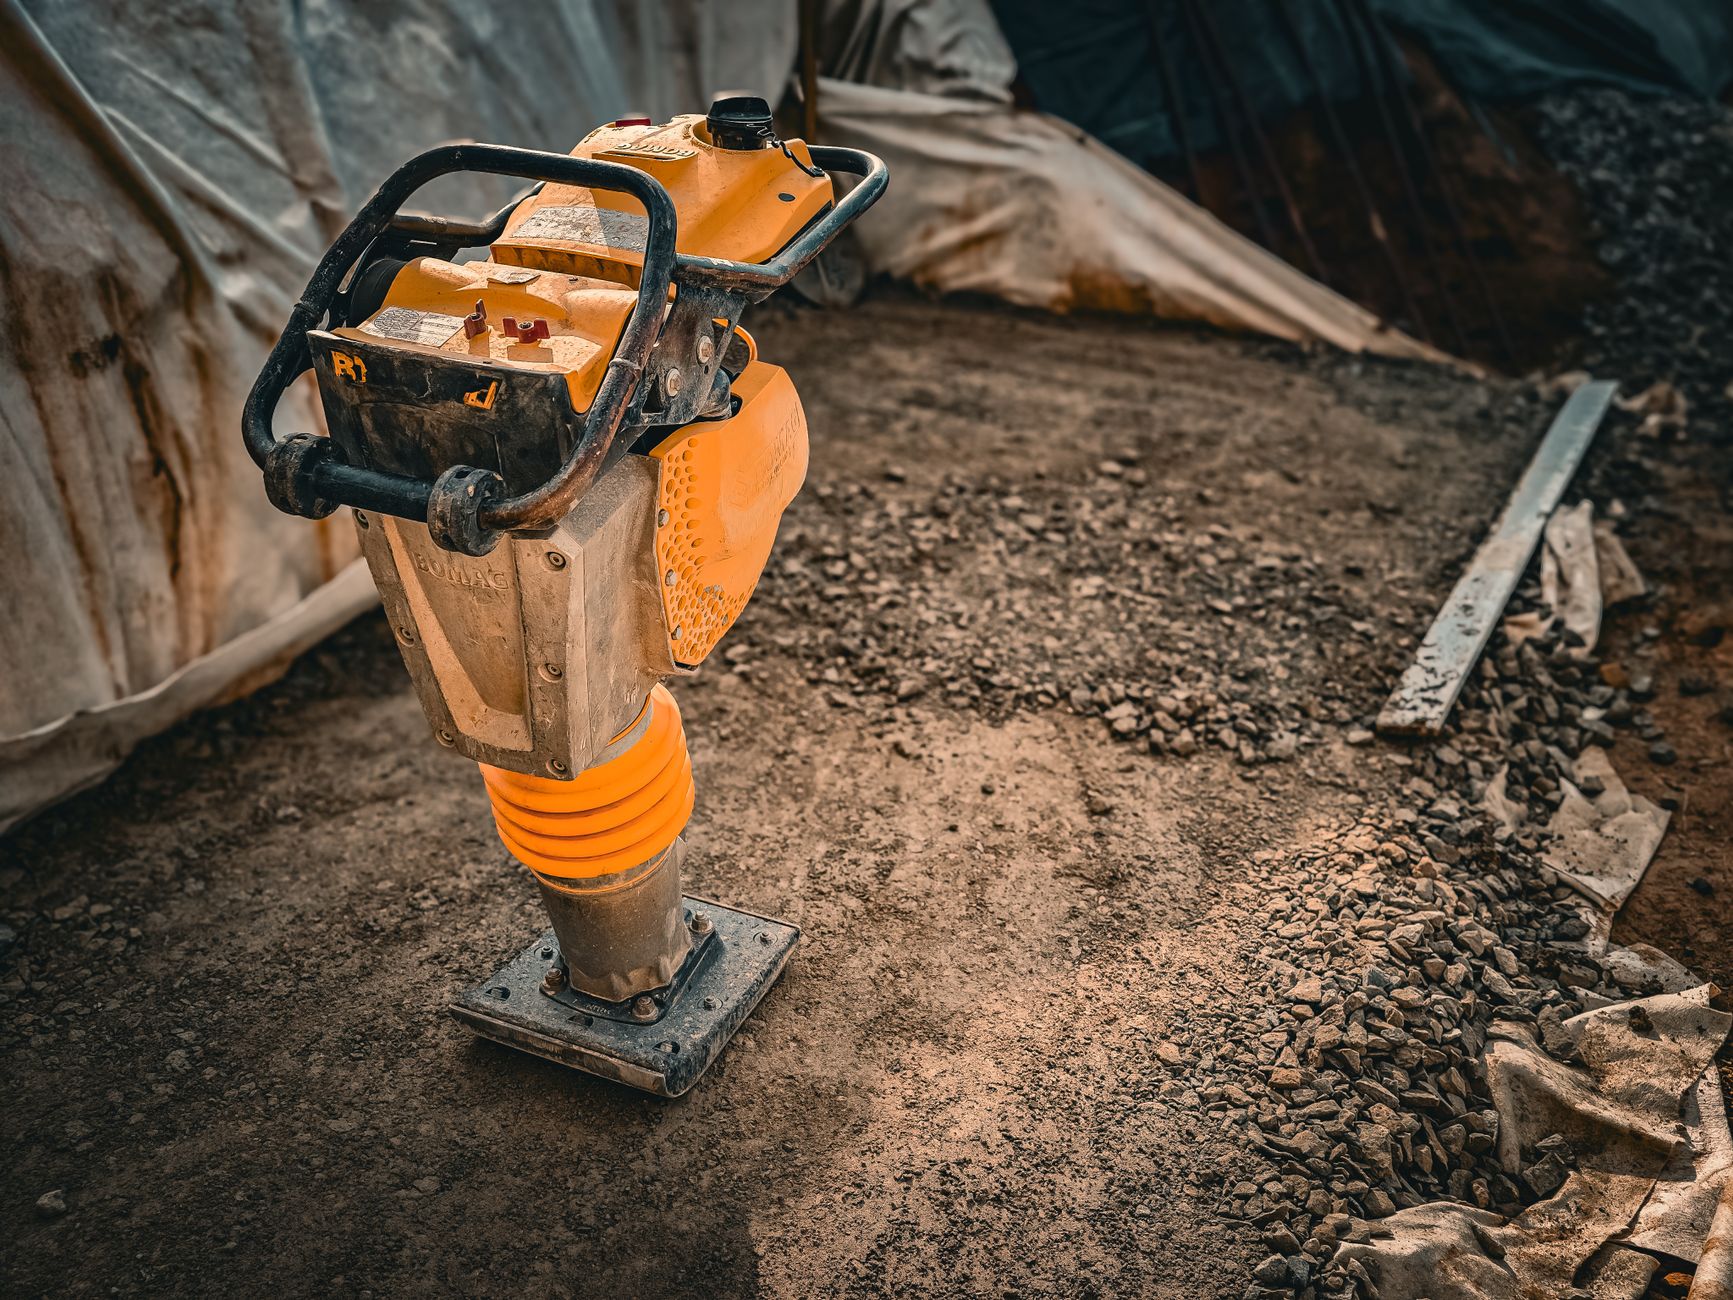
Now pour your base gravel. I use 3/4-inch crushed stone (angular, not river rock—angular stone locks together). Spread it in 2-inch lifts, wet it down with a hose, and tamp it. You don’t need a plate compactor for a 12×12 patio; a hand tamper ($25 at Harbor Freight) works fine if you’re patient. Tamp each lift until it doesn’t shift under your weight. For a 6-inch base, that’s three lifts. Total gravel: about 2.5 tons for a 12×12 patio at 6 inches deep. Order from a local quarry—bagged gravel from the big box store will cost you triple.
Order from a local quarry—bagged gravel from the big box store will cost you triple.
Step 3: Install the Perme Easy Grids
This is where the system shines. The Perme Easy Pave grids come in 2-foot by 2-foot panels that click together like puzzle pieces. Each panel has a 2-inch depth and a honeycomb pattern with 1.5-inch cells. You don’t need glue, screws, or stakes—the grids lock together with interlocking tabs, and the weight of the gravel holds them down.
Start at one corner of your excavated area. Lay the first panel with the tabs facing outward. Snap the next panel in by pressing down on the seam—you’ll hear a click. Work in rows, staggering the seams like brickwork. For a 12×12 patio, you’ll need 36 panels (each panel covers 4 square feet). A full pallet (100 panels) runs about $320 from Perme Easy’s website, but you can buy individual panels for $8.50 each if you’re doing a smaller project.
Here’s the trick most tutorials miss: cut the grids with a utility knife, not a saw. Score the plastic along the cell lines three times, then bend and snap. It’s clean, fast, and doesn’t leave sharp edges. I cut a dozen panels for my curved path in about 20 minutes. For straight edges against a house or wall, leave a 1/4-inch gap between the grid and the wall—this allows for thermal expansion and prevents buckling in summer heat.
Once all grids are in place, walk the entire surface. Check for any panels that feel loose or rock underfoot. If you find one, lift it and add a thin layer of gravel underneath to level it. The grids should sit flush with the surrounding soil—if they’re too high, foot traffic will catch the edges.
Step 4: Fill With the Right Gravel
Not all gravel works in Perme Easy grids. You need angular, washed stone that’s 3/8-inch to 1/2-inch in diameter. I use Pennsylvania Bluestone chips (about $45 per ton from my local quarry) or Decomposed Granite (DG) if I want a more natural look. Avoid pea gravel—it’s round, it shifts, and it’ll work its way out of the grids within months. Also avoid crusher run (stone dust mixed with rock)—it packs too tightly and defeats the permeability.
Pour the gravel onto the grids in 5-gallon bucket loads. Spread it with a landscape rake or a stiff broom, working it into the cells. You want the gravel to fill each cell to the top, with a slight crown (about 1/4 inch above the grid) to account for settling. For a 12×12 patio at 2 inches deep, you’ll need about 0.9 cubic yards of gravel—that’s roughly 1.5 tons.
After spreading, tamp the gravel with a hand tamper again. Then sweep more gravel into any low spots. Repeat until the surface is level and firm. The final step: hose down the patio to wash off dust and settle the stones. You’ll see the water disappear instantly—that’s the permeable magic working.
Step 5: Edge, Plant, and Maintain
Without edging, your gravel will eventually migrate into the lawn. I use steel landscape edging (the 4-inch tall, 14-gauge strips from EasyFlex, about $1.50 per linear foot). Hammer it in along the outside edge of the grids, overlapping the joints by 2 inches. For a curved patio, use the flexible plastic edging instead—it bends without cracking and costs about $0.80 per foot.
Now for the fun part: planting around the edges. A permeable patio isn’t just a surface—it’s the start of a microclimate. Plant low-growing, drought-tolerant groundcovers in the gaps between the patio and your garden beds. I use ‘Blue Star Creeper’ (Isotoma fluviatilis) in zones 5–9—it stays under 3 inches tall, blooms blue in spring, and handles foot traffic. For a pollinator-friendly option, try ‘Thyme Creeping Red’ (Thymus praecox)—it smells amazing when you walk on it, attracts bees, and survives zone 4 winters. Space them 12 inches apart in a 6-inch-wide band around the patio edge. Expect full coverage in one growing season if you water weekly.
Maintenance is minimal. Once a year (early spring, before growth starts), rake the surface to redistribute any gravel that’s settled. If you see weeds, pull them—they’re rare with the fabric and gravel, but a stray seed can sprout. In fall, blow leaves off the patio; wet leaves decompose into a sludge that can clog the gravel pores. That’s it. No sealing, no power washing, no replacing cracked slabs.
Small changes, real momentum
Get practical guides and templates you’ll actually use — a few thoughtful emails a month.
Frequently Asked Questions
Will Perme Easy grids crack in freezing temperatures?
No, and that’s the point. The HDPE plastic is flexible—it expands and contracts with temperature changes without cracking. I’ve had mine through five winters in zone 5b (down to -15°F), and the grids show zero damage. The key is the gravel base: if you have at least 6 inches of angular stone below the grids, frost heave won’t lift them. In zones 3 and 4, go to 8 inches of base for insurance.
Can I drive a car on a Perme Easy patio?
Not with the standard 2-inch grid. Perme Easy makes a Perme Easy Drive grid that’s 4 inches deep and rated for vehicle loads up to 30 tons per square foot. For a parking pad or driveway, you need that thicker grid and a 12-inch gravel base. The 2-inch grid is for foot traffic, wheelbarrows, and the occasional lawn tractor—it’ll crack under a car’s weight. I learned this the hard way when I parked my truck on a test patch; the grid survived, but the gravel compressed unevenly.
How do I clean a permeable patio?
You don’t need a pressure washer. Once a year, sweep off leaves and debris. If the gravel gets dusty, hose it down with a garden nozzle—the water flushes the dust into the base, where it settles harmlessly. For oil stains (from a barbecue or lawn mower), sprinkle cattail litter or diatomaceous earth on the spot, let it sit for an hour, then sweep it up. Avoid bleach or chemical cleaners—they kill the soil biology underneath.
Can I install Perme Easy over an existing concrete slab?
Technically yes, but it defeats the purpose. If you lay grids over concrete, you’ve built a permeable surface on top of an impermeable base—water will pool between the grid and the slab, and you’ll get mosquitoes. If you want to cover an ugly concrete patio, drill 1-inch weep holes every 12 inches in the concrete first, then install the grids with a 2-inch gravel base on top. That gives the water somewhere to go. But honestly, it’s better to remove the concrete and start fresh—the labor is similar, and you get real drainage.
What’s the total cost for a 12×12 permeable patio?
Here’s a realistic breakdown for a DIY install in zone 6: Perme Easy grids (36 panels) at $8.50 each = $306. Gravel base (2.5 tons at $45/ton) = $113. Surface gravel (1.5 tons at $45/ton) = $68. Landscape fabric (150 square feet at $0.15/sq ft) = $23. Steel edging (48 linear feet at $1.50/ft) = $72. Hand tamper, rake, utility knife (one-time tools) = $50. Total: $632. Compare that to a concrete patio at $900–$1,200 for materials alone (if you pour it yourself), and you’re saving 30–40% while getting better drainage and a soil-friendly surface.
Grow Something Good
Seasonal how-tos and sustainable gardening you can actually use.