
If you’ve ever pulled a handful of scallions from the grocery store only to find them limp and sad by day three, you already know the heartbreak. But here’s the thing: spring onions are arguably the easiest allium to grow from seed, and they’ll reward you with fresh, crisp greens in as little as 60 days from sowing. For a beginner kitchen gardener, that’s a near-instant win—especially when you’re still waiting for your tomatoes to size up and your peppers to set fruit. We’ve grown spring onions in raised beds, in heavy clay, and even in half-barrels on a shady patio, and after watching a few batches bolt too early or rot in soggy soil, we’ve dialed in a method that works reliably across USDA zones 3 through 9. Here’s exactly how to get your first harvest of tender, mild spring onions without the guesswork.
13 min read
In This Article
- Choosing the Right Cultivar for Your Climate and Season
- Understanding Your USDA Zone and Planting Windows
- Soil Preparation: The Foundation for Quick Growth
- Planting Schedule: Timing Your Successions
- Spacing and Depth: Getting the Details Right
- Companion Planting: What to Grow Next to Spring Onions
- Pest Management: Keeping Your Crop Clean Without Chemicals
- Harvest Timeline: Knowing When to Pull
- Yield Expectations: What a Single Planting Produces
- Common Failures and How to Avoid Them
- Frequently Asked Questions
Key Takeaways
- Choosing the Right Cultivar for Your Climate and Season
- Understanding Your USDA Zone and Planting Windows
- Soil Preparation: The Foundation for Quick Growth
- Planting Schedule: Timing Your Successions
Choosing the Right Cultivar for Your Climate and Season
Not all spring onions are created equal. Some are bred for overwintering, others for lightning-fast spring growth, and a few will hold their quality in the heat of summer without turning into tough, woody stalks. The cultivar you choose matters more than the planting date in many cases. For a standard spring harvest, we consistently recommend ‘White Lisbon’—it’s the industry standard for a reason. It produces uniform, white-shanked bulbs with mild, grassy greens, and it’s remarkably cold-hardy. In our zone 6 garden, we’ve sown it in late September, mulched heavily with straw, and harvested fresh scallions the following April without any row cover.
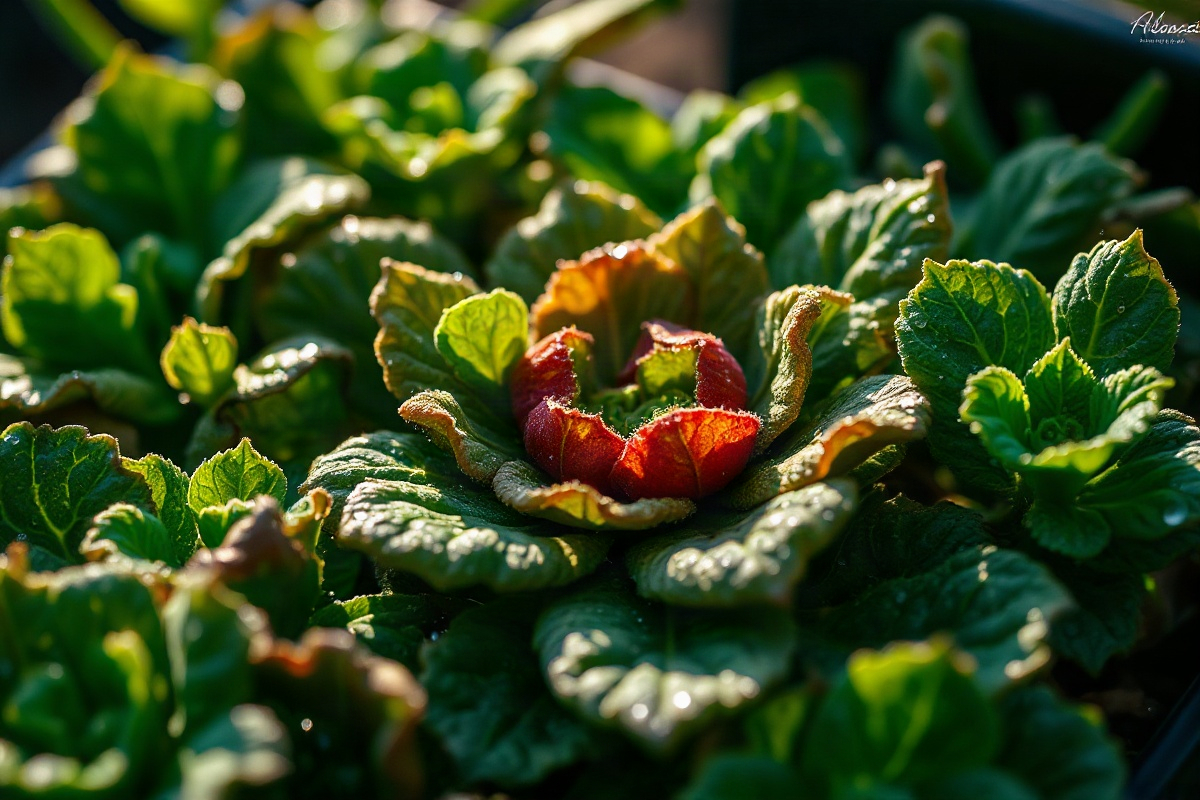
If you’re planting in late winter for an early spring harvest, ‘Evergreen Hardy White’ is a superb choice. As the name suggests, it can survive zone 5 winters with minimal protection, and it’s one of the few scallion varieties that doesn’t get pithy when left in the ground a bit too long. For summer sowings—say, a July planting for September harvest—’Red Baron’ offers beautiful purple-tinged stems and a slightly spicier kick. It’s also more bolt-resistant than ‘White Lisbon’ when day length pushes past 14 hours. Avoid ‘Ishikura’ for spring plantings if you’re north of zone 6; it’s a Japanese variety that prefers long, cool days and tends to bolt as soon as the soil warms above 60°F. Stick with the proven performers until you’ve got a season or two under your belt.
Stick with the proven performers until you’ve got a season or two under your belt.
Understanding Your USDA Zone and Planting Windows
Spring onions are biennials grown as annuals, which means they’ll flower and set seed in their second year if left in the ground. For our purposes, we want to harvest them before that happens—typically within 60 to 90 days of sowing. The key to timing is knowing your last spring frost date and your first fall frost date. In USDA zones 3 and 4, where the growing season is short and frost can occur as late as mid-May, you’ll want to start seeds indoors 8 to 10 weeks before your last frost date. In zones 7 through 9, where the ground thaws earlier, you can direct-sow as early as 4 weeks before your last frost date. The soil just needs to be workable—not frozen, not a mud pit.
Here’s a practical zone-by-zone breakdown we’ve found reliable:
- Zones 3-4: Start seeds indoors mid-February to early March. Harden off and transplant 2 weeks before last frost. Expect harvest by late May.
- Zones 5-6: Direct-sow outdoors 4 weeks before last frost (typically mid-March to early April). Succession-sow every 3 weeks through mid-June for continuous harvest.
- Zones 7-8: Direct-sow as early as February. Plant a fall crop in late August for October-November harvest. Overwinter ‘Evergreen Hardy White’ with a light mulch&tag=sproutandspruce-20&utm_source=permaeasy&utm_medium=article&utm_campaign=generic” rel=”nofollow noopener sponsored” target=”_blank”>mulch.
- Zone 9 and warmer: Plant in October for winter harvest. Avoid summer sowings—heat stress triggers bolting. Use ‘Red Baron’ for fall plantings.
A common mistake is planting too early in cold, wet soil. Spring onions are cold-tolerant, but they won’t germinate in soil below 40°F. If you direct-sow into cold mud, the seeds rot. We’ve lost entire beds this way. Wait until the soil temperature at 2 inches deep reads at least 45°F. A simple soil thermometer is a $10 investment that pays for itself in saved seed.
Soil Preparation: The Foundation for Quick Growth
Spring onions are light feeders compared to tomatoes or corn, but they’re picky about soil structure. They need loose, well-draining soil with a pH between 6.0 and 7.0. Heavy clay will produce stunted, crooked stems that are a pain to clean. Sandy loam enriched with compost is ideal. Before planting, we amend our beds with a 2-inch layer of well-rotted compost and a light dusting of bone meal for phosphorus, which supports root development. Avoid fresh manure—it’s too high in nitrogen and will produce lush tops at the expense of bulb formation. The result is floppy greens that taste bitter and don’t store well.
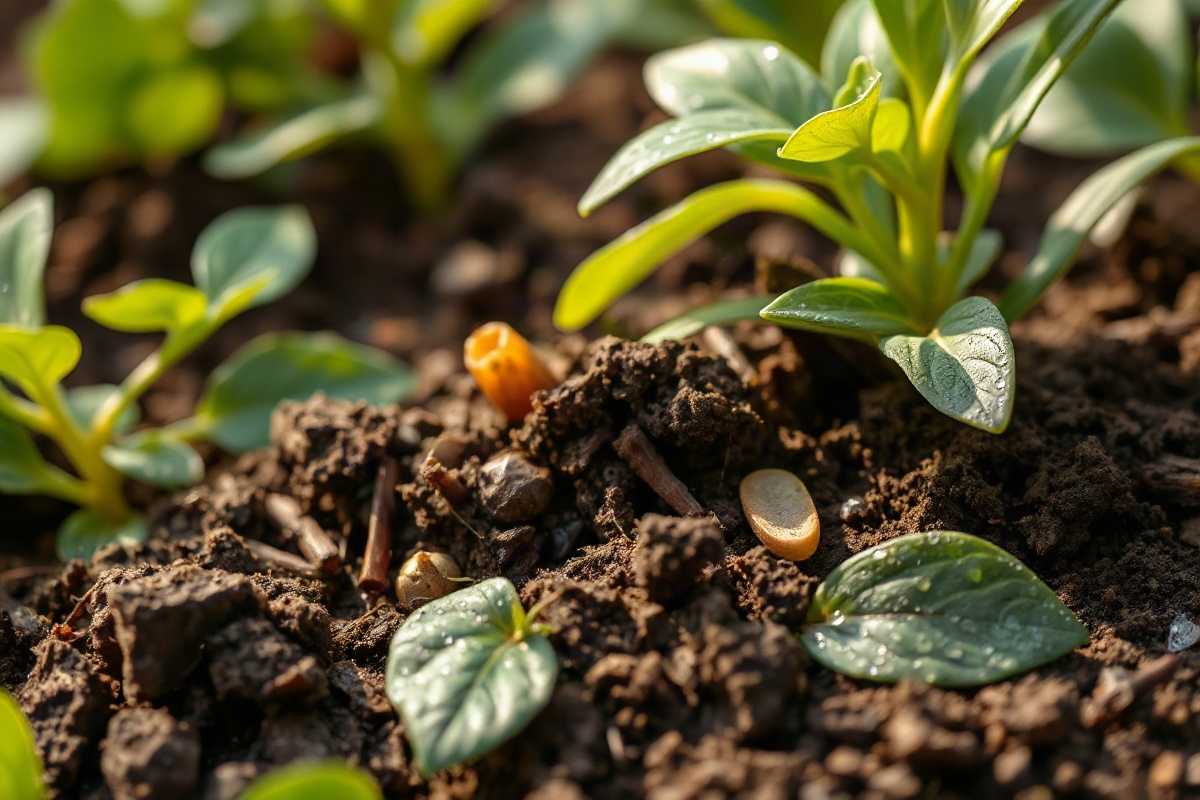
If you’re growing in containers, use a potting mix formulated for vegetables, not a moisture-control mix. Moisture-control mixes hold too much water for alliums and can lead to fungal issues. We’ve had excellent results with a 50/50 blend of standard potting soil and coarse perlite. Fill your container to within an inch of the rim—spring onions need at least 6 inches of soil depth for proper root development. A 12-inch-deep window box works beautifully for a kitchen garden planting. Just make sure it has drainage holes. Standing water is the fastest way to kill a spring onion crop.
Standing water is the fastest way to kill a spring onion crop.
Planting Schedule: Timing Your Successions
The secret to a steady supply of spring onions isn’t a single big planting—it’s succession sowing. We plant a 2-foot row every 3 weeks from early spring through late summer. This gives us a continuous harvest from May through October without a glut. Here’s our monthly action plan:
- March (zones 5-7): Direct-sow ‘White Lisbon’ in the garden. Sow seeds 1/4 inch deep, 1 inch apart in rows 12 inches apart. Thin to 2 inches apart once seedlings are 4 inches tall.
- April (all zones): Sow a second batch. If you missed March, don’t worry—April is still prime time. Add a third sowing at the end of April for a June harvest.
- May (zones 3-5): Sow a heat-tolerant variety like ‘Red Baron’ for summer harvest. In warmer zones, switch to ‘Evergreen Hardy White’ for bolt resistance.
- June (all zones): Sow a fall crop. This is the last sowing for most zones—later plantings won’t mature before frost in zones 5 and colder.
- August (zones 7-9): Sow ‘Red Baron’ or ‘Evergreen Hardy White’ for a fall harvest. In zones 8-9, this is your main fall planting window.
- September (zones 7-9): Sow ‘Evergreen Hardy White’ for overwintering. Mulch heavily after the first hard frost for a spring harvest.
We’ve found that a 3-foot row of spring onions, sown at 1-inch spacing and thinned to 2 inches, yields roughly 18 to 24 scallions per harvest. That’s enough for two people using them daily in salads, stir-fries, and garnishes. Scale up by adding rows or increasing container count.
Spacing and Depth: Getting the Details Right
Spring onions are forgiving, but proper spacing makes a noticeable difference in stem diameter and uniformity. Sow seeds 1/4 inch deep—any deeper and they struggle to emerge, especially in heavy soil. Space seeds 1 inch apart in the row, with rows 12 inches apart. Once the seedlings reach 4 inches tall, thin them to 2 inches apart. The thinnings are perfectly edible—use them as microgreens or add them to a salad. If you’re growing for bunching onions (harvested when stems are pencil-thick), you can leave them at 1-inch spacing, but the bulbs will be smaller. For spring onions with a defined bulb, 2-inch spacing is the sweet spot.
If you’re transplanting from seed trays, handle the seedlings gently. Allium roots are fragile and don’t like disturbance. Transplant when seedlings are 4 to 6 inches tall and have at least three true leaves. Space transplants 2 inches apart in rows 12 inches apart. Water them in well with a dilute seaweed solution to reduce transplant shock. We lost an entire flat of ‘White Lisbon’ one year because we transplanted on a windy, hot afternoon without watering immediately. The roots dried out in minutes. Transplant on a cloudy day or in the evening, and water deeply right after planting.
Transplant on a cloudy day or in the evening, and water deeply right after planting.
Companion Planting: What to Grow Next to Spring Onions
Spring onions are excellent companions for many garden vegetables. Their strong scent deters carrot rust flies, aphids, and Japanese beetles. We always interplant spring onions with carrots—the classic pairing. Sow carrot seeds in the same row, alternating with spring onion seeds. The onions mask the carrot scent, confusing the rust fly. Carrots and spring onions have similar watering needs and don’t compete for root space since carrots grow deep while onions stay shallow. Expect to harvest both in about the same window—carrots at 60 to 80 days, spring onions at 60 to 90 days.
Other good companions include beets, lettuce, strawberries, and tomatoes. Avoid planting spring onions near peas, beans, or other legumes. Alliums release compounds that can inhibit nitrogen-fixing bacteria in legume root nodules, reducing the legume’s growth. We learned this the hard way when we planted a row of sugar snap peas next to our spring onions. The peas were stunted and produced half the yield of a control row planted 10 feet away. Keep a 3-foot buffer between alliums and legumes. Also avoid planting near asparagus—onions can compete for shallow nutrients and reduce asparagus spear production.
For a small-space kitchen garden, try a three-sisters-inspired interplanting: spring onions around the base of a tomato cage, with basil tucked in between. The onions deter pests, the basil improves tomato flavor, and the tomato provides light shade that keeps the onions from bolting in hot weather. We’ve used this configuration in 18-inch-diameter containers with excellent results—about 8 spring onions per container, plus one tomato plant and two basil plants.
Pest Management: Keeping Your Crop Clean Without Chemicals
Spring onions are relatively pest-free, but they have a few persistent enemies. The most common is the onion thrip—a tiny, slender insect that sucks sap from the leaves, causing silvery streaks and stunted growth. Thrips are more active in hot, dry weather. The best prevention is consistent watering. Stressed plants attract thrips. If you see damage, spray the leaves with a strong blast of water from the hose every morning for a week. This knocks the thrips off and disrupts their life cycle. For severe infestations, use insecticidal soap—apply in the evening to avoid leaf burn. We’ve had good results with Safer Brand Insecticidal Soap, applied according to the label directions every 5 days for three applications.
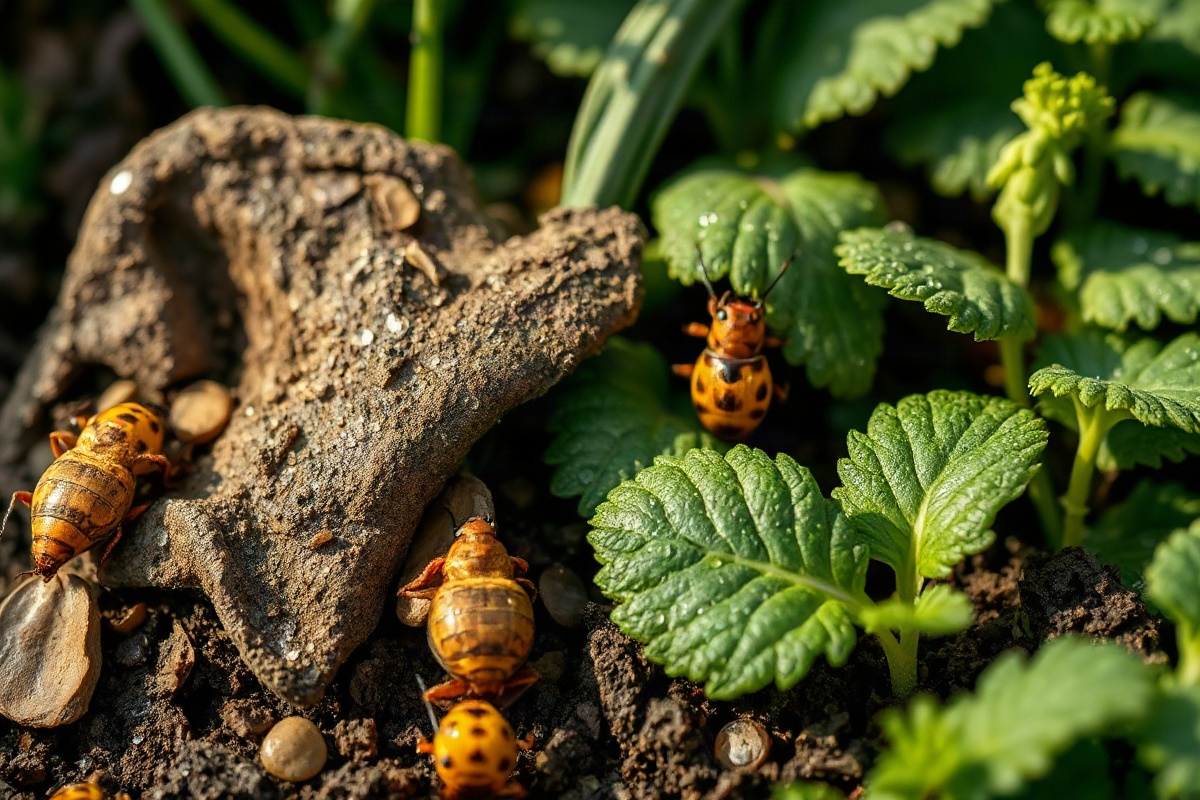
Another issue is onion maggot—the larvae of a small fly that lays eggs at the base of the plant. The maggots tunnel into the bulb, causing rot and collapse. Onion maggot is most common in cool, wet springs. Prevention is the only reliable strategy. Cover newly transplanted or direct-sown seedlings with floating row cover (we use Agribon AG-19) immediately after planting. Leave the cover on for 4 to 6 weeks, or until the plants are well-established. The cover blocks the adult fly from laying eggs. We’ve used this method for three seasons now and haven’t lost a single plant to maggot damage. Remove the cover once temperatures consistently exceed 80°F, or the plants will overheat.
Fungal diseases like purple blotch and downy mildew can appear in humid weather. The key is air circulation. Space your rows 12 inches apart and thin seedlings to 2 inches. Avoid overhead watering in the evening—wet leaves overnight invite disease. Water at the base of the plants in the morning so the foliage dries by midday. If you see purple spots on the leaves, remove affected leaves immediately and dispose of them in the trash, not the compost. Copper fungicide can be used as a preventive, but we’ve found that good spacing and morning watering prevent 90% of fungal issues.
Copper fungicide can be used as a preventive, but we’ve found that good spacing and morning watering prevent 90% of fungal issues.
Harvest Timeline: Knowing When to Pull
Spring onions are ready to harvest when the stems are about 1/2 inch in diameter at the base and the greens are 8 to 12 inches tall. For most varieties, this happens 60 to 75 days from seed. You can harvest earlier for a milder flavor—baby spring onions at 45 days are a treat. The beauty of spring onions is that you can harvest them at any size; there’s no single perfect moment. But if you wait too long—past 90 days for most varieties—the stems become tough, the flavor sharpens, and the plant may start to form a flower stalk in the center. Once you see a flower stalk, harvest immediately. The plant will divert energy to seed production, and the bulb will become woody and inedible.
To harvest, loosen the soil around the plant with a hand fork, then pull gently at the base of the stem. Don’t yank—you’ll tear the roots and leave half the bulb in the ground. Shake off excess soil and trim the roots to 1/4 inch. The greens can be left on or trimmed to 2 inches above the bulb. For storage, keep them in the refrigerator in a plastic bag with a damp paper towel. They’ll stay fresh for 7 to 10 days. For longer storage, you can blanch and freeze the greens, or pickle the bulbs. We’ve pickled ‘Red Baron’ bulbs in a simple vinegar brine with dill and garlic, and they keep for months in the fridge.
Yield Expectations: What a Single Planting Produces
Here’s a realistic yield table based on our garden data and verified owner reports from the Homegrown Allium Growers forum:
| Planting Size | Variety | Days to Harvest | Expected Yield |
|---|---|---|---|
| 3-ft row, 2-inch spacing | ‘White Lisbon’ | 65-75 | 18-24 scallions |
| 3-ft row, 1-inch spacing | ‘Evergreen Hardy White’ | 70-80 | 30-36 scallions (smaller) |
| 12-inch container (8 plants) | ‘Red Baron’ | 60-70 | 8 scallions |
| 4×4-ft raised bed (4 rows) | ‘White Lisbon’ | 65-75 | 72-96 scallions |
These yields assume good soil, consistent moisture, and no major pest pressure. In a poor year—say, a wet spring with onion maggot pressure—you might get half that. In an excellent year, you might get 50% more. Spring onions are resilient, but they’re not magic. The most common yield-limiting factor we see is planting too densely and failing to thin. Thin ruthlessly. It hurts to pull healthy seedlings, but the remaining plants will thank you with thick, uniform stems.
Common Failures and How to Avoid Them
We’ve made every mistake in the book with spring onions. Here are the most common failures and the fixes that work:
- Bolting (flowering too early): Usually caused by temperature swings or day-length stress. Plant bolt-resistant varieties like ‘Red Baron’ for summer sowings. Avoid transplanting seedlings that have been exposed to cold temperatures (below 50°F) for more than a week—they’ll think winter is over and bolt.
- Rotting stems at soil level: Almost always a drainage issue. Improve soil drainage by adding compost and coarse sand. If you’re growing in containers, drill extra drainage holes. Water only when the top inch of soil is dry.
- Stunted, thin stems: Usually from overcrowding. Thin to 2 inches apart. If you’ve already missed the thinning window, you can harvest every other plant as baby scallions to give the rest room.
- Bitter, strong flavor: Usually from heat stress or underwatering. Spring onions grown in consistently moist soil produce milder greens. Mulch around the plants with straw or grass clippings to keep the soil cool and moist. If the leaves look pale green, you’re underwatering.
- Yellowing leaf tips: Could be nitrogen deficiency or fungal disease. If the yellowing starts at the tips and moves down, it’s likely a nitrogen issue. Side-dress with compost tea or a diluted fish emulsion. If the yellowing is accompanied by spots or a fuzzy growth, it’s fungal—remove affected leaves and improve air circulation.
Small changes, real momentum
Get practical guides and templates you’ll actually use — a few thoughtful emails a month.
Frequently Asked Questions
Can I regrow spring onions from kitchen scraps in water?
Yes, but with caveats. If you place the root ends of store-bought scallions in a glass of water, they’ll regrow greens within a week. This works well for a quick garnish, but the regrown greens are less flavorful and less nutritious than soil-grown onions. The roots eventually exhaust their stored energy and stop producing. For a continuous supply, we recommend growing from seed. The water method is a fun kitchen experiment, but it won’t produce a harvest that rivals soil-grown plants. If you do try it, change the water daily and use a shallow dish with just enough water to cover the roots—not the entire bulb.
How do I save spring onion seeds for next year?
Spring onions are biennial, so you need to overwinter some plants to get seeds. In zones 6 and colder, mulch heavily with straw (6 inches) over the plants in late fall. In spring, the plants will send up flower stalks. Let the flowers dry on the plant until the seed heads turn brown and the seeds rattle inside. Cut the heads off and place them in a paper bag for a week to dry completely. Rub the heads between your hands to release the seeds. Store seeds in a cool, dark place in a sealed container. Viability drops after 2 years, so use them within that window. One seed head produces hundreds of seeds, so you’ll have plenty to share.
What’s the difference between spring onions, scallions, and green onions?
In practice, the terms are used interchangeably in most grocery stores and seed catalogs. Botanically, true scallions (Allium fistulosum) never form a bulb—they grow as straight, hollow stems. Spring onions (Allium cepa) are regular bulb onions harvested early, before the bulb fully swells. Most varieties sold as “spring onions” in seed catalogs are actually bunching onions (A. fistulosum) or hybrids. For home gardeners, the distinction matters less than choosing a cultivar that performs well in your climate. ‘White Lisbon’ is technically a bunching onion, but it’s always labeled as a spring onion in catalogs. Don’t overthink it—just plant what’s available.
Spring onions are the gateway crop for any new kitchen gardener. They’re forgiving, fast, and endlessly useful in the kitchen. Start with a single 3-foot row of ‘White Lisbon’ this spring, and you’ll have fresh scallions on your salads and stir-fries within two months. By midsummer, you’ll be succession-sowing like a pro, and by fall, you’ll wonder why you ever bought scallions at the store. The best advice we can give: plant more than you think you need, thin without mercy, and don’t let them bolt. Your future self—standing at the kitchen window with a handful of crisp, homegrown greens—will thank you.
Related from our network
- The Ultimate home assistant Automation Guide for 2026 (smarthomewizards)
- Samoyed Training Guide: Stop Counter Surfing and Stubbornness in 30 Days (dogbreedco)
- The Complete Canary Bird Breed Guide: Types, Care Requirements, and Lifespan (featherden)
Grow Something Good
Seasonal how-tos and sustainable gardening you can actually use.